

To adjust an office chair, work from the floor up: seat height first, then seat depth, the backrest and lumbar support, recline and tension, armrests, the headrest, and finally the desk, screen and your feet. Each setting depends on the one before it. Seat height decides where your knees are, which decides how deep the seat should be, which decides where your lower back meets the backrest.
Most people never get that far. In a study of 51 office workers published in Applied Ergonomics, chairs had about five adjustable functions on average. The workers knew about two and a half of them and used fewer than two. 73% had used two or fewer, and 10% had never adjusted anything.
The checks below come from OSHA, the UK Health and Safety Executive (HSE) and the Canadian Centre for Occupational Health and Safety (CCOHS). Where they give different numbers, we say so.
Before you start: find your levers
Sit down and feel under the seat on both sides, then check the back of the chair and the armrests. These are the usual places:
- A lever under the right side of the seat: usually seat height.
- A lever or button under the front of the seat: seat depth, which slides the seat pan forward and back.
- A large knob under the seat: tilt tension, or how hard the backrest pushes back.
- A lever under the left side: tilt lock, or seat angle on some chairs.
- A knob, slider or ratchet on the backrest: lumbar height or depth, or backrest height.
- Buttons on the armrests: height, and sometimes width and angle.
If you can’t work out what a control does, search for the chair’s model name plus “manual”. Many manufacturers post them online.
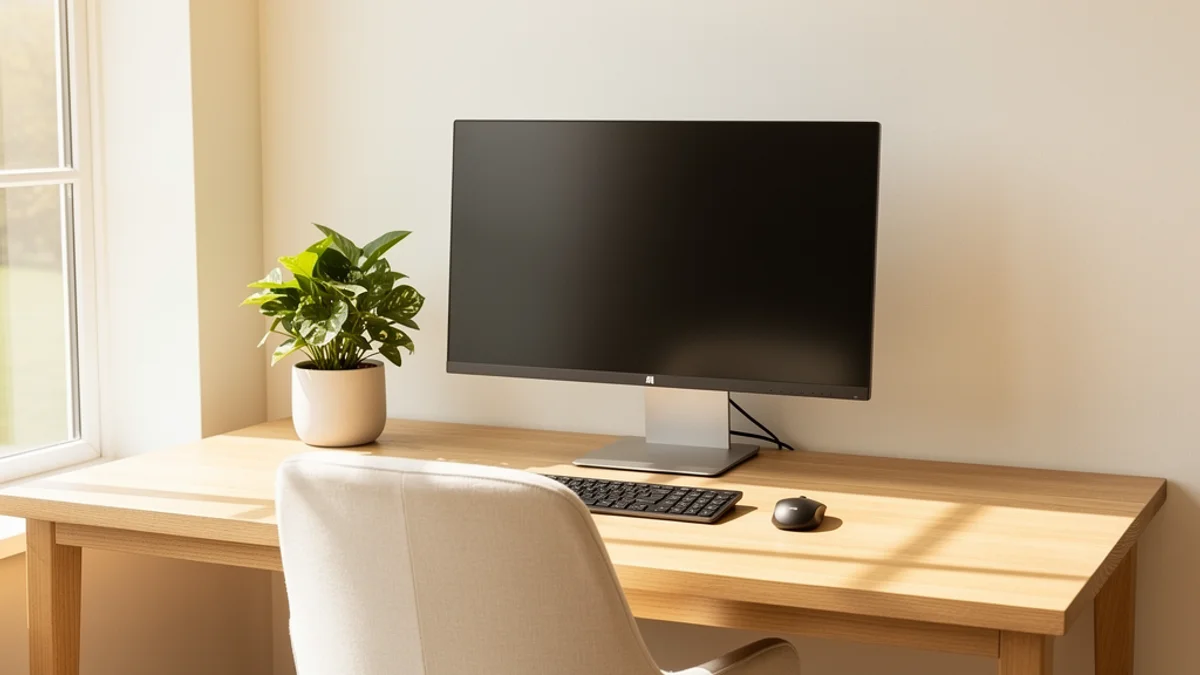
How to adjust an office chair, step by step
1. Set the seat height
Stand in front of the chair first. CCOHS says to adjust the seat so its highest point, when level, sits just below your kneecap. That gets you close before you sit down.
Then sit all the way back and fine-tune. OSHA says the height is right when the whole sole of your foot rests on the floor, with the back of your knee slightly higher than the seat. The HSE puts it another way: the seat should support the front and back of your thighs equally.
Check: feet flat, no pressure digging into the underside of your thighs near the knee, thighs roughly parallel to the floor. If your desk is a fixed height and this leaves your arms reaching up, read the desk section below, then come back.
2. Set the seat depth
Seat depth is how far the seat pan reaches toward your knees. With your back against the backrest, the front edge of the seat shouldn’t touch the backs of your knees.
How big should the gap be? The sources disagree a little. CCOHS says to leave room for a clenched fist, about 5 cm or 2 inches, between the seat edge and your calves. The HSE’s diagram shows a gap of 2-3 cm. OSHA doesn’t give a number. It says the seat should support most of the thigh without contact between the back of the knee and the front edge.
Check: sit right back and slide two or three fingers, or a fist, between the seat edge and the back of your knee. No room means the seat pan should go back. A big gap with your thighs hanging unsupported means it should come forward. If the seat doesn’t slide and it’s too deep, see the section on limited chairs further down.
3. Set the backrest and lumbar support
Your lower back curves inward, and the backrest’s support should sit in that curve. OSHA says the outward curve of the backrest should fit into the small of the back and recommends lumbar support that adjusts in height so it can be placed there. CCOHS says to move the backrest forward or back and up or down so it fits the hollow of your lower back.
On most chairs you’ll do one of two things. If the whole backrest adjusts in height, raise or lower it until its bulge meets your lower back. If there’s a separate lumbar pad, slide it up or down, and wind in the depth knob (if it has one) until you feel firm contact.
Check: sit fully back. You should feel the support in the curve just above your belt line, with no gap behind your lower back. If it’s pushing your hips forward on the seat, reduce the depth or lower it slightly. If your lower back still aches after a day at the desk, our guide to lower back pain from sitting at a desk covers what else to look at.
4. Set the recline, tilt lock and tension
Cornell University’s ergonomics guide says the best seated posture is a reclined posture of 100-110 degrees, not an upright 90. OSHA’s reference for reclined sitting is a little wider, with the torso reclined between 105 and 120 degrees from the thighs. OSHA also recommends a backrest that can recline at least 15 degrees from vertical and either locks or has adjustable tension.
Tilt tension is the big knob under the seat. Turn it tighter and the backrest pushes back harder. Loosen it and you’ll recline more easily.
Check: unlock the tilt and lean back. A gentle push should recline you, and the chair should let you come back up without shoving you forward. Falling back means the tension needs tightening. If you have to push hard to move at all, loosen it. Prefer it locked? Lock it at a slight recline instead of bolt upright, and keep your lower back against the support.
5. Set the armrests
CCOHS gives a simple method. Sit upright with your arms hanging loosely, bend your elbows to about 90 degrees, then raise or lower the armrests until they barely touch the undersides of your elbows. OSHA describes the same thing differently: the armrests should just make contact with your lower arms when your arms are comfortably at your sides.
If the armrests won’t go low enough, or they stop you pulling in to the desk, OSHA says to remove them or stop using them. CCOHS says the same.
Don’t lean on them all day, either. Cornell’s guide warns against resting your forearms on armrests the whole time you type or use the mouse, because it can compress the forearm muscles and the ulnar nerve at the elbow. Use them between bursts of typing, on calls, or when you lean back.
Check: shoulders relaxed and not hitched up, elbows close to your sides, and you can still slide in close to the desk.
6. Set the headrest (if you have one)
A headrest matters most when you recline. OSHA’s chair purchasing guide says that if the backrest reclines more than about 30 degrees from vertical, a headrest should be provided.
Check: lean back to your usual reclined position. The headrest should meet the back of your head while your head is level, without pushing your chin forward. If it pokes you while you sit upright and type, lower it or tilt it back. It doesn’t need to touch your head when you’re sitting forward.
7. Check the desk, screen and your feet
Now look at where your hands land. The HSE recommends having the keyboard just below elbow height. OSHA’s neutral posture has the elbows close to the body and bent between 90 and 120 degrees.
For the screen, the HSE suggests the top of the screen level with your eyes, about an arm’s length away. Cornell has a quick test for the distance: sit back, raise your arm, and your fingers should touch the screen. If your neck complains by mid-afternoon, our guide to monitor height and neck pain goes into screen placement in more detail.
Then your feet. If raising the chair to suit the desk lifted your heels off the floor, add a footrest. Cornell and OSHA both say your feet should be flat on the floor or on a footrest.
What if your desk is too high or too low?
Most desks don’t adjust, so the chair ends up doing the work.
If the desk is too high and you have to lift your arms to reach it, CCOHS says to raise the chair until your elbows are about level with the work surface, then use a footrest if your feet no longer sit flat. The footrest should support both feet. OSHA’s other option is to cut down the desk legs if necessary.
If the desk is too low and your knees don’t fit underneath, or you can’t move your legs, CCOHS says not to use that workstation on a regular basis. OSHA suggests raising it with stable risers, such as boards or blocks, under the legs. It gives leg clearance under a desk as generally between 20 and 28 inches (50-72 cm).
Taller people hit the too-low problem a lot. Our guide on desk setup for tall people covers risers, keyboard trays and longer chair cylinders.
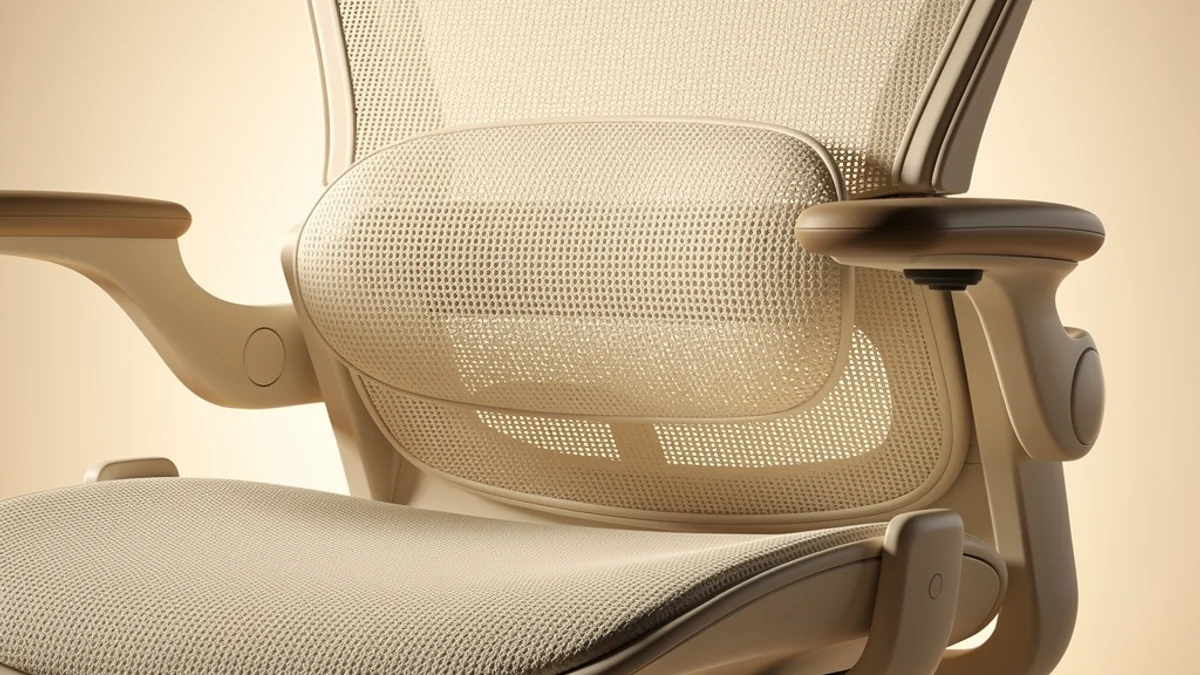
How to adjust a chair with limited adjustments
Not every chair has six levers. Here’s what to do when yours is missing some.
No lumbar adjustment. Use a small cushion or a rolled-up towel. Cambridge University Hospitals’ NHS seating leaflet suggests a lumbar roll or small rolled-up towel placed right at the bottom of your back, and the HSE also suggests a cushion for extra back support. Move it up and down until it fills the curve without pushing you forward.
Seat too deep and not adjustable. Put a firm cushion behind your back. It moves you forward on the seat so the edge clears your knees and your back still has support.
Fixed armrests that are too high or hit the desk. These lift your shoulders or keep you away from the desk, and OSHA says to stop using them if they interfere. Check underneath before you give up, since the arms on many chairs are bolted on under the seat.
Kitchen or dining chair at home. These rarely adjust at all. Raise your seated height with a firm cushion, as the HSE suggests, add a rolled towel for your lower back, and put a box or a stack of books under your feet if they dangle. Don’t rock back on one. OSHA notes that chairs with four or fewer legs are prone to tipping. If it’s become your everyday chair, our guide to an ergonomic home office on a budget has cheap upgrades.
No tilt or recline. Sit right back against the backrest and use the lumbar cushion. You can’t shift position by leaning back, so get up more often.
Quick office chair adjustment checklist
| Setting | What good looks like |
|---|---|
| Seat height | Feet flat, thighs about parallel to the floor, no pressure behind the knee |
| Seat depth | Two or three fingers to a fist between the seat edge and the back of your knee |
| Lumbar | Support sits in the curve of your lower back when you sit fully back |
| Recline and tension | A slight recline, and the backrest moves with a gentle push |
| Armrests | Just touch your forearms with shoulders relaxed, and don’t stop you pulling in |
| Headrest | Supports your head when you lean back, with your gaze level |
| Desk and screen | Keyboard just below elbow height, top of screen at eye level |
| Feet | Flat on the floor or a footrest |
For a yes/no check of the rest of your workstation, use our ergonomic assessment checklist.
Why the settings don’t hold all day
An adjusted chair does help. In a 12-month trial published in Spine, office workers who got a highly adjustable chair plus ergonomics training had less growth in symptoms over the workday. There was no evidence that training alone did the same, although average pain fell in both groups. The authors concluded that training should go together with adjustable furniture.
The settings only help while you’re sitting in them, though. Over a long stretch of focused work it’s easy to slide forward off the lumbar support, cross a leg, or lean in toward the screen. Cornell’s guide recommends a brief rest break every 30 to 60 minutes, and OSHA says to change your working position frequently throughout the day.
SitApp watches for that drift. It uses your webcam and on-device AI to learn your own upright posture, then nudges you when you slump away from it. No video is recorded and no images leave your computer. The free plan includes an hour of monitoring a day.
Still deciding whether your chair is worth adjusting or replacing? Our guide to the best ergonomic chair for posture covers what to look for.
Frequently asked questions
Should my feet touch the floor in an office chair?
Yes, flat on the floor. If raising the chair to reach your desk lifts them off, use a footrest. A box or a stack of books works at home.
What should I do if my office chair is too low for my desk?
Raise the chair until your elbows are level with the desk surface, then add a footrest if your feet leave the floor.
Should armrests be level with the desk?
Roughly. They should just touch your forearms with your elbows bent near 90 degrees and still let you slide in close. If they’re higher than the desk, lower or remove them.
Is it better to sit upright at 90 degrees or lean back?
A slight recline. Both Cornell and OSHA put their reference postures past 90 degrees, as covered in step 4. Keep your lower back against the support while you recline.
Should I lock my office chair’s backrest?
You can. OSHA accepts a backrest that locks or one with adjustable tension. If you lock it, lock it at a slight recline.
